asian turkey meatballs with chili garlic glaze


turkey meatball

Ok, so what is with life getting in the way of posting???  Sorry…weak moment.
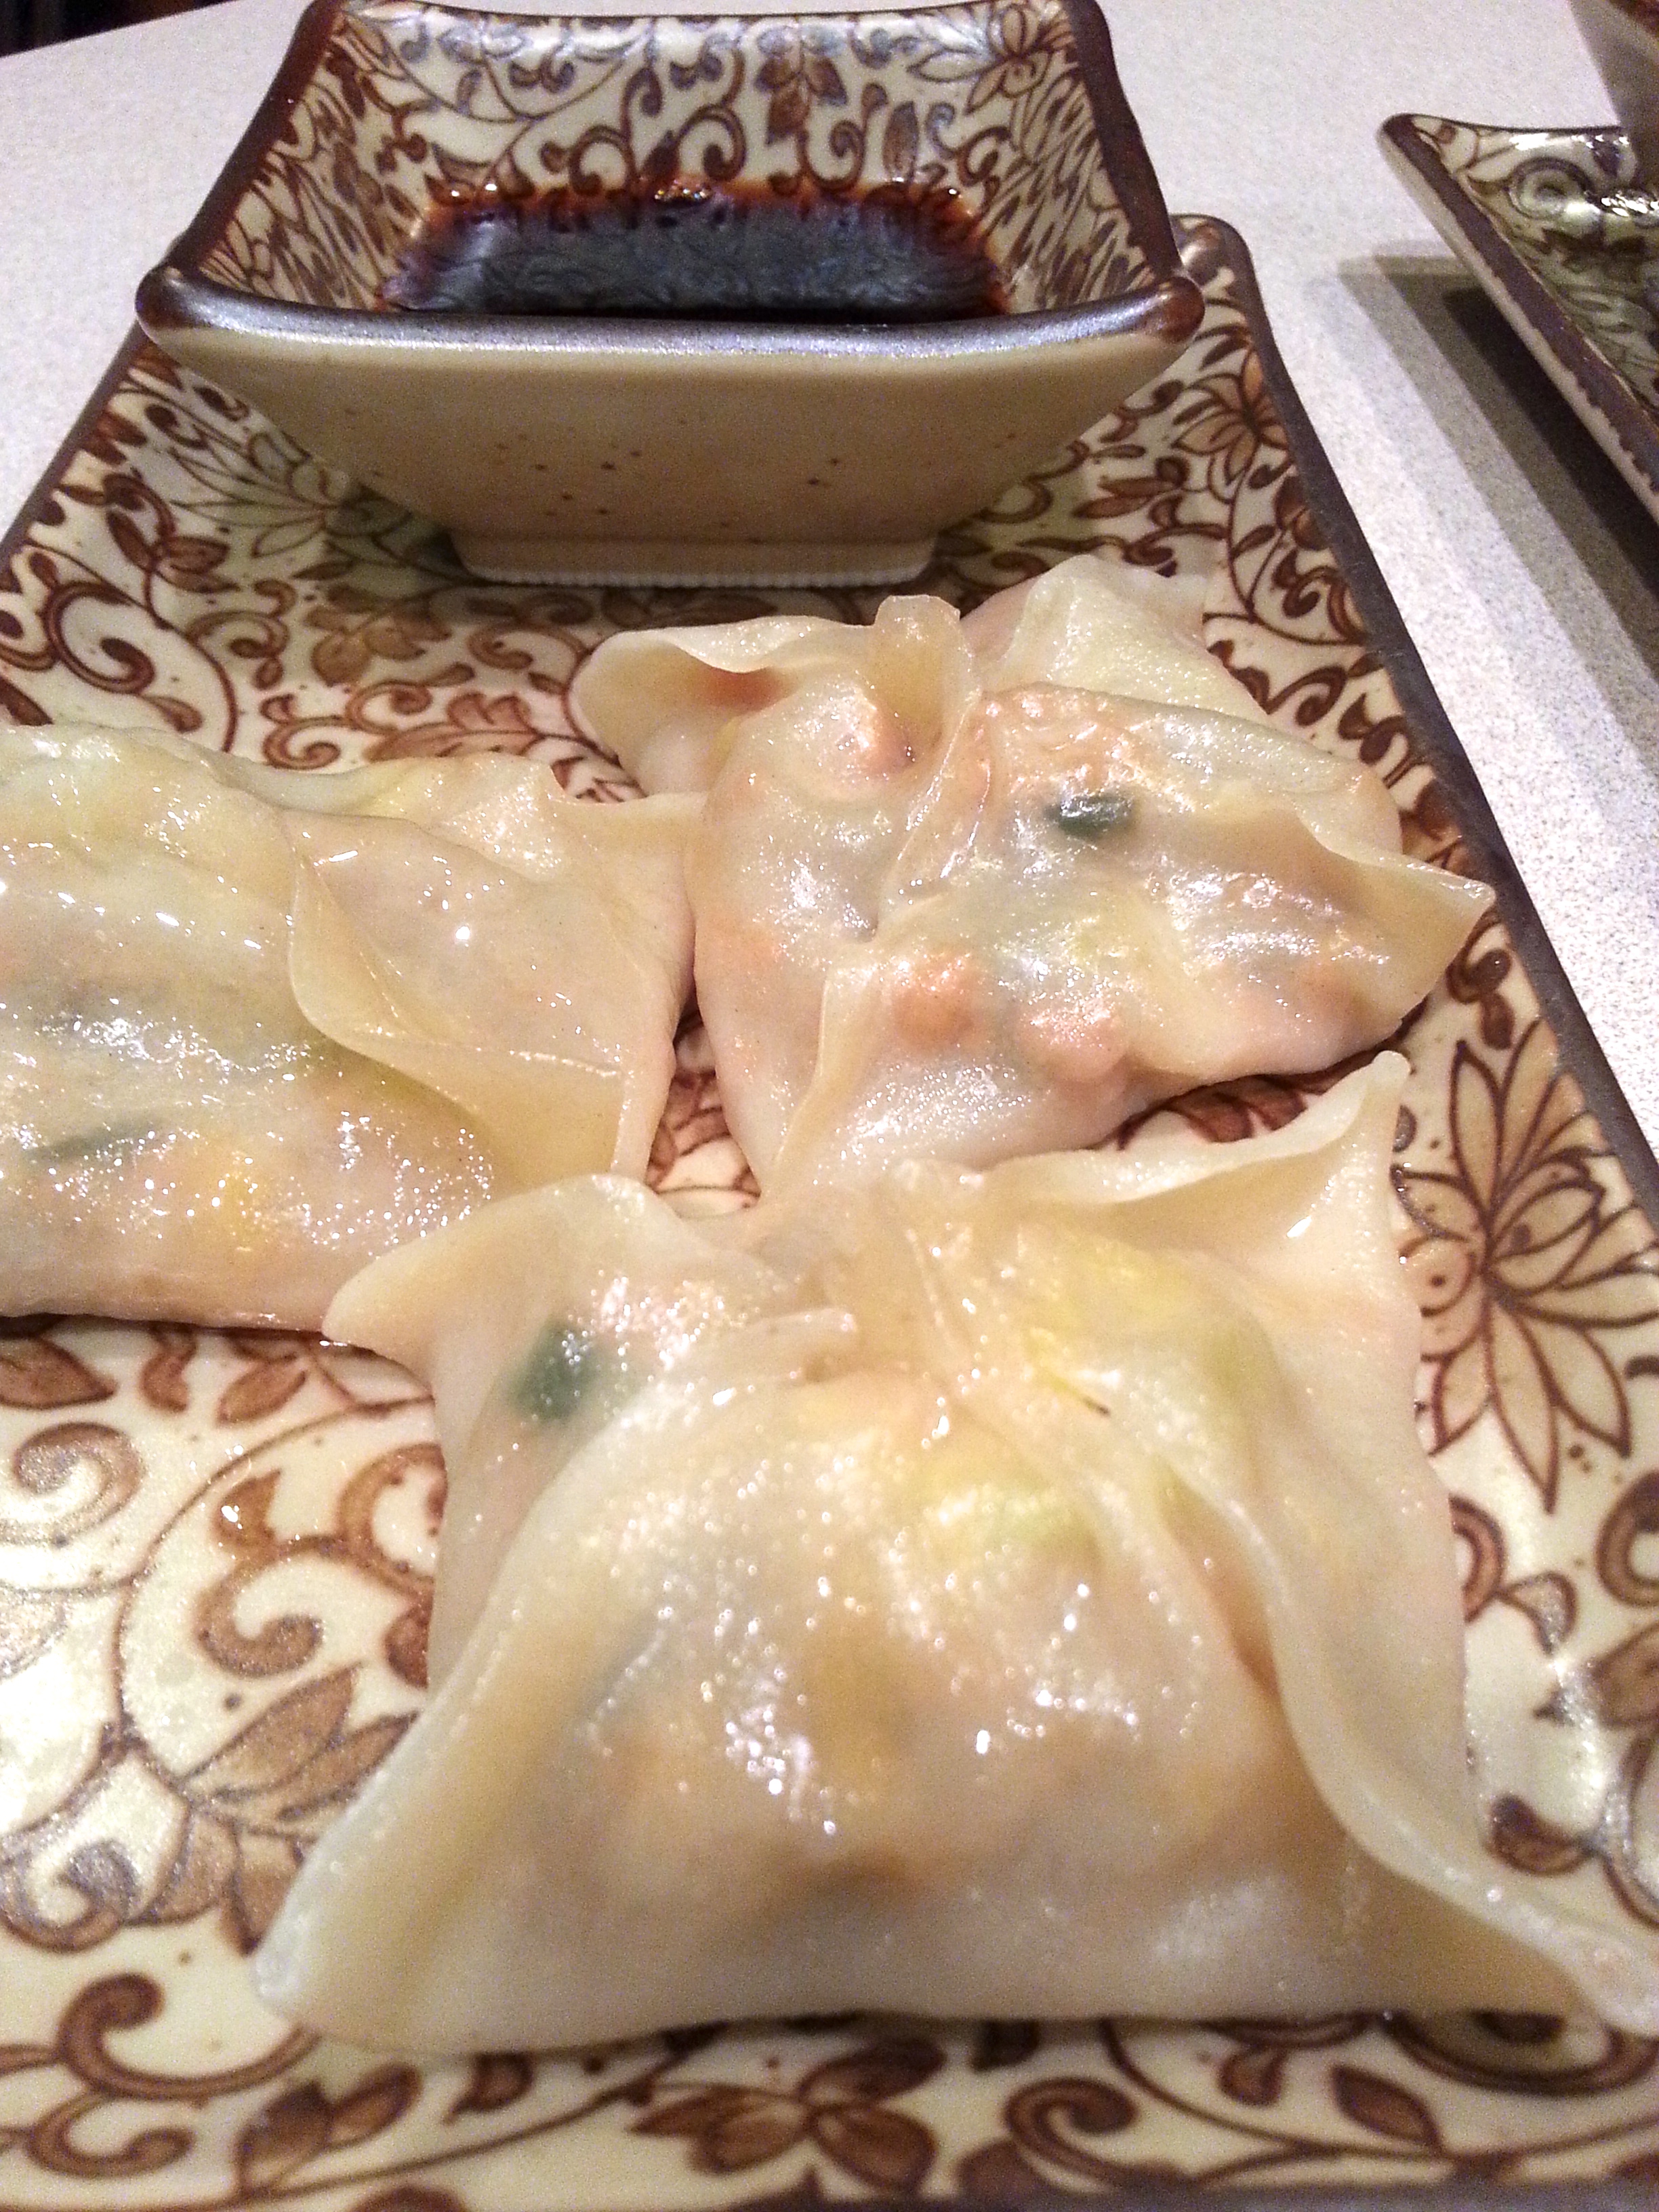
I was lucky enough earlier in the year, to be invited to a Chinese New Year party, and so there was an obvious theme for the pot luck buffet.  I knew some of the dishes that the host and guests were making, and so I needed to try to come up with something that would compliment the table.  My mind went blank as to what to make.  Nothing inspired me in all my cookbooks, so I decided that sometimes, you have to go back to party basics.  Growing up, I was never a big fan of Swedish meatballs, but back in the day, they were the star of crockpots everywhere!  So for the party, and to pay homage to the Swedes, I decided to make an asian meatball.   Perfect.  So, I looked online for ideas and came across this recipe from Aggie’s Kitchen.  What caught my eye was the chili garlic glaze.  I figured that would help in two ways – keep them tasty and keep them moist.  Who likes dry, flavorless meatballs?

asian turkey meatballs with chili garlic glaze  (adapted from Aggie’s recipe)

2  lbs. lean ground turkey (not the 99% lean!)
2  TB ginger, grated
1/2 cup shredded carrots
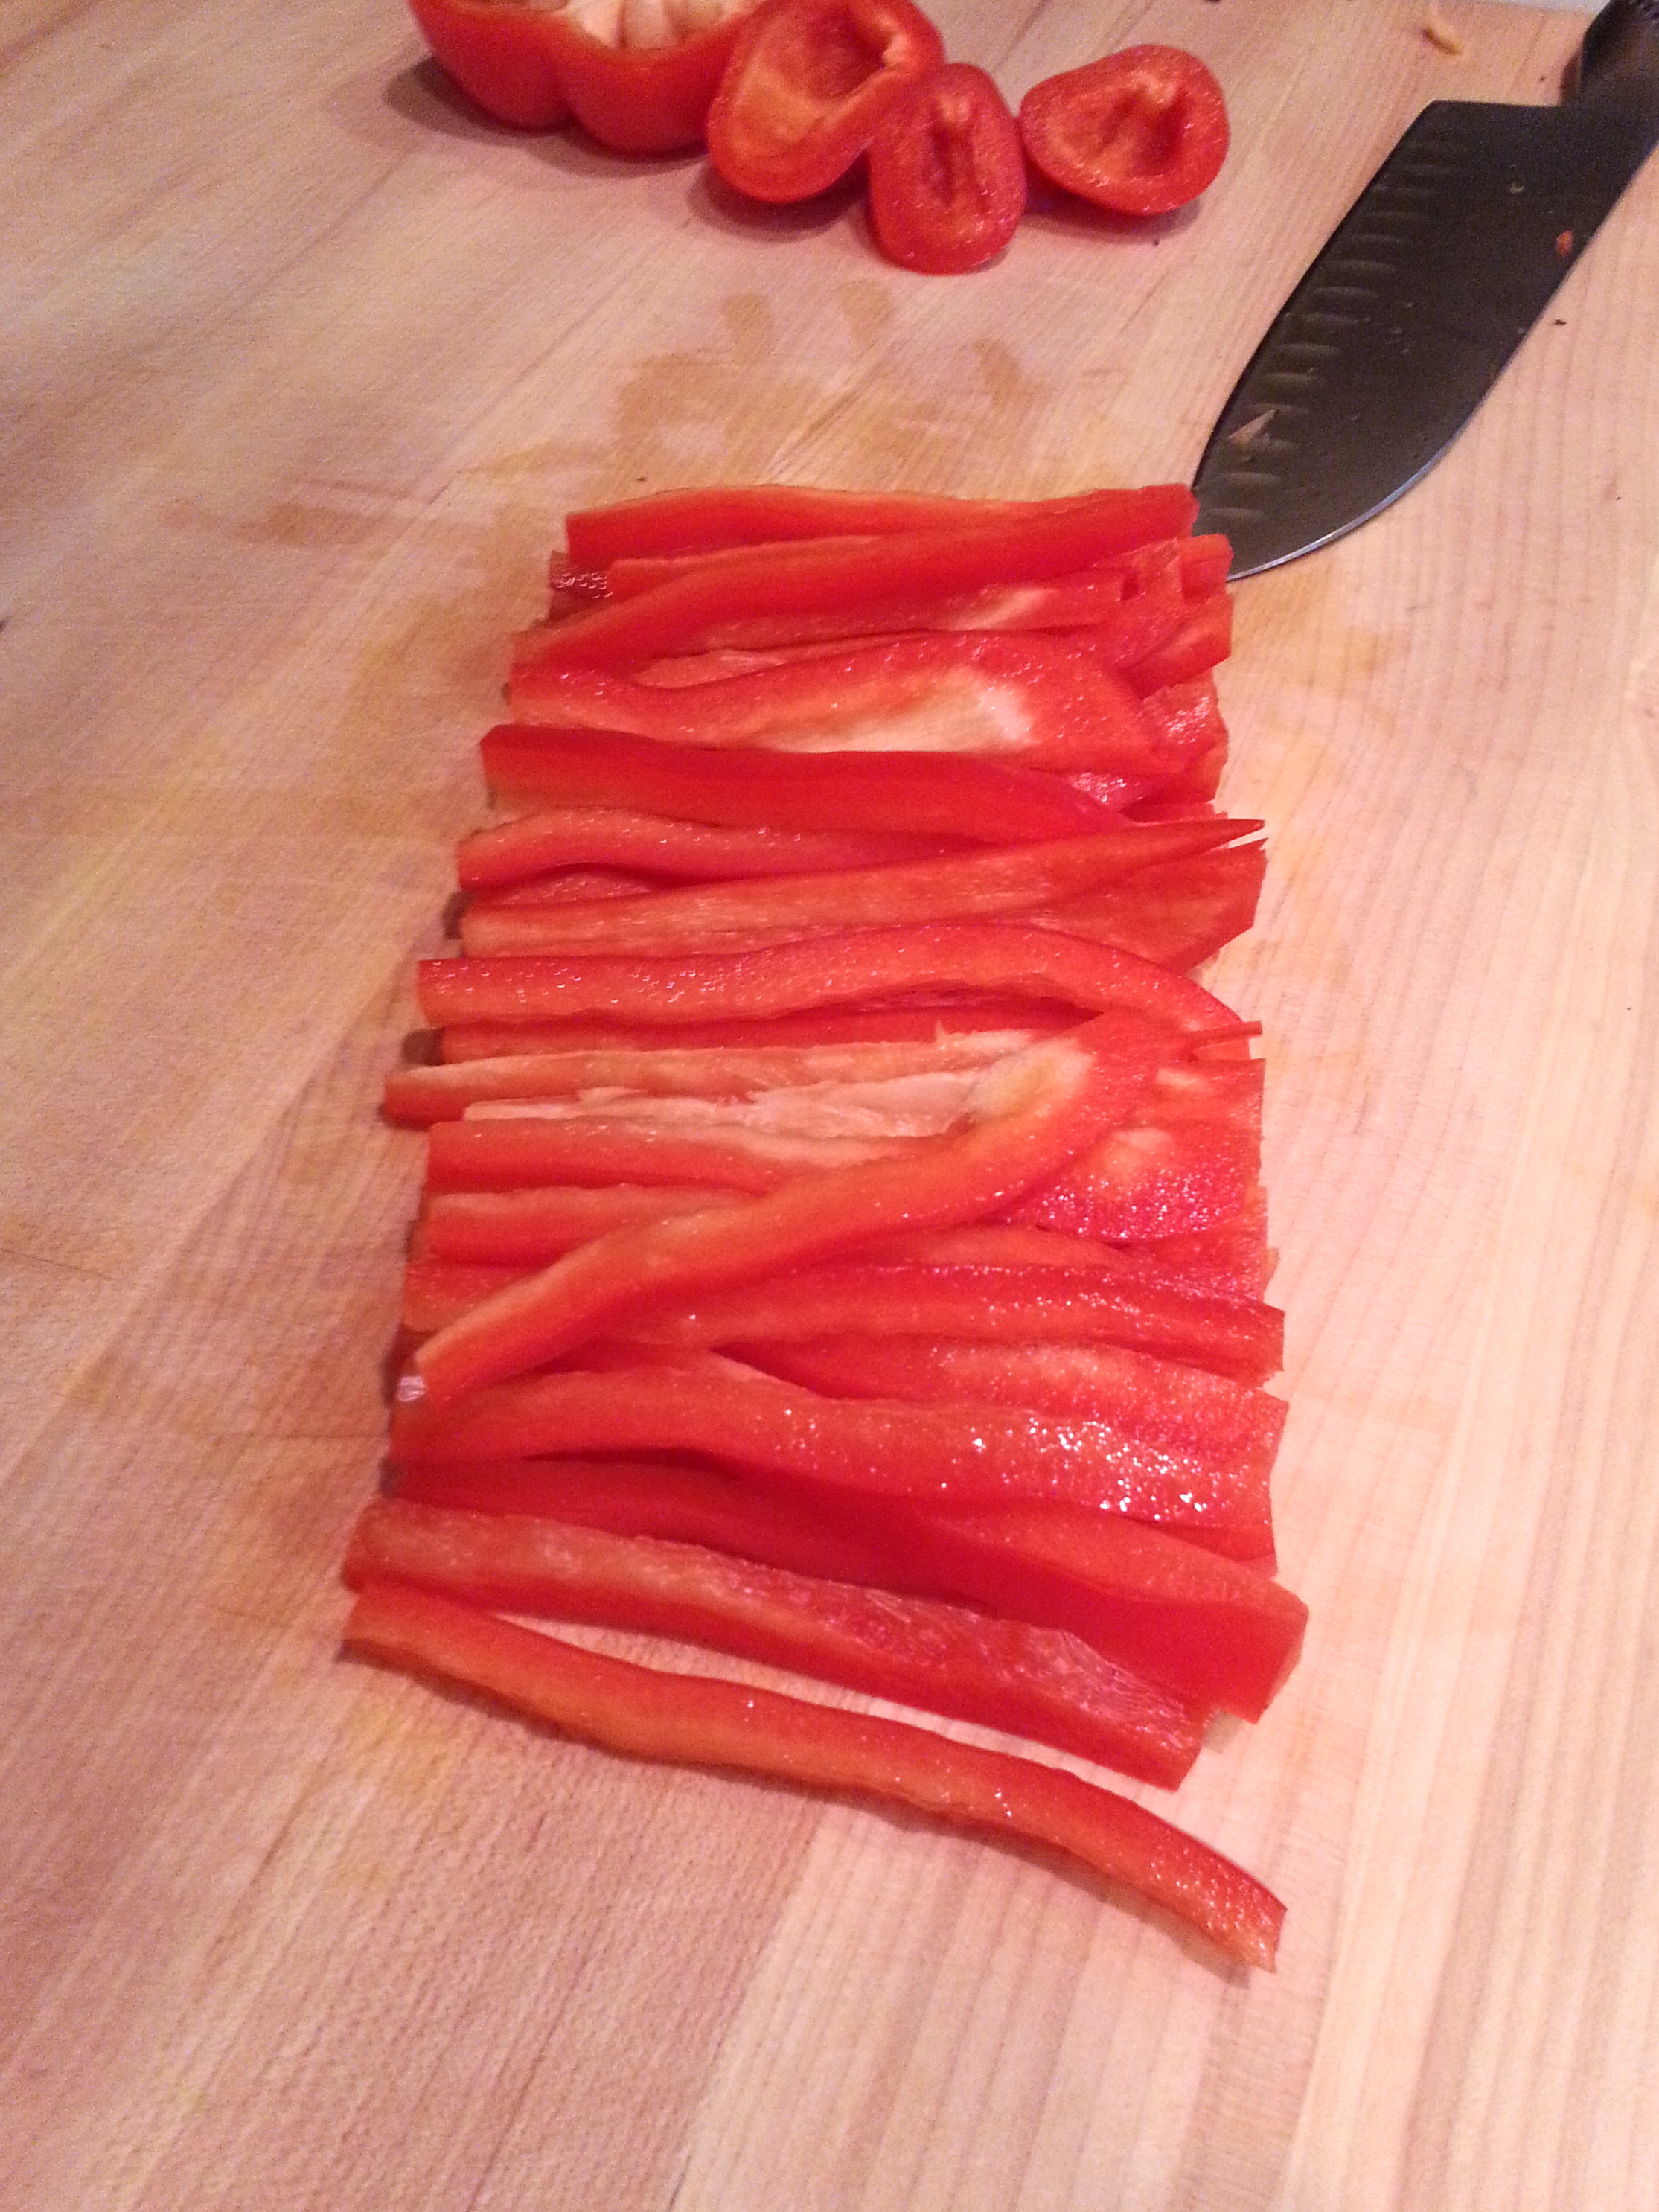
1/2  cup red bell pepper, diced
1/2  cup green onions, sliced
1  clove garlic, minced
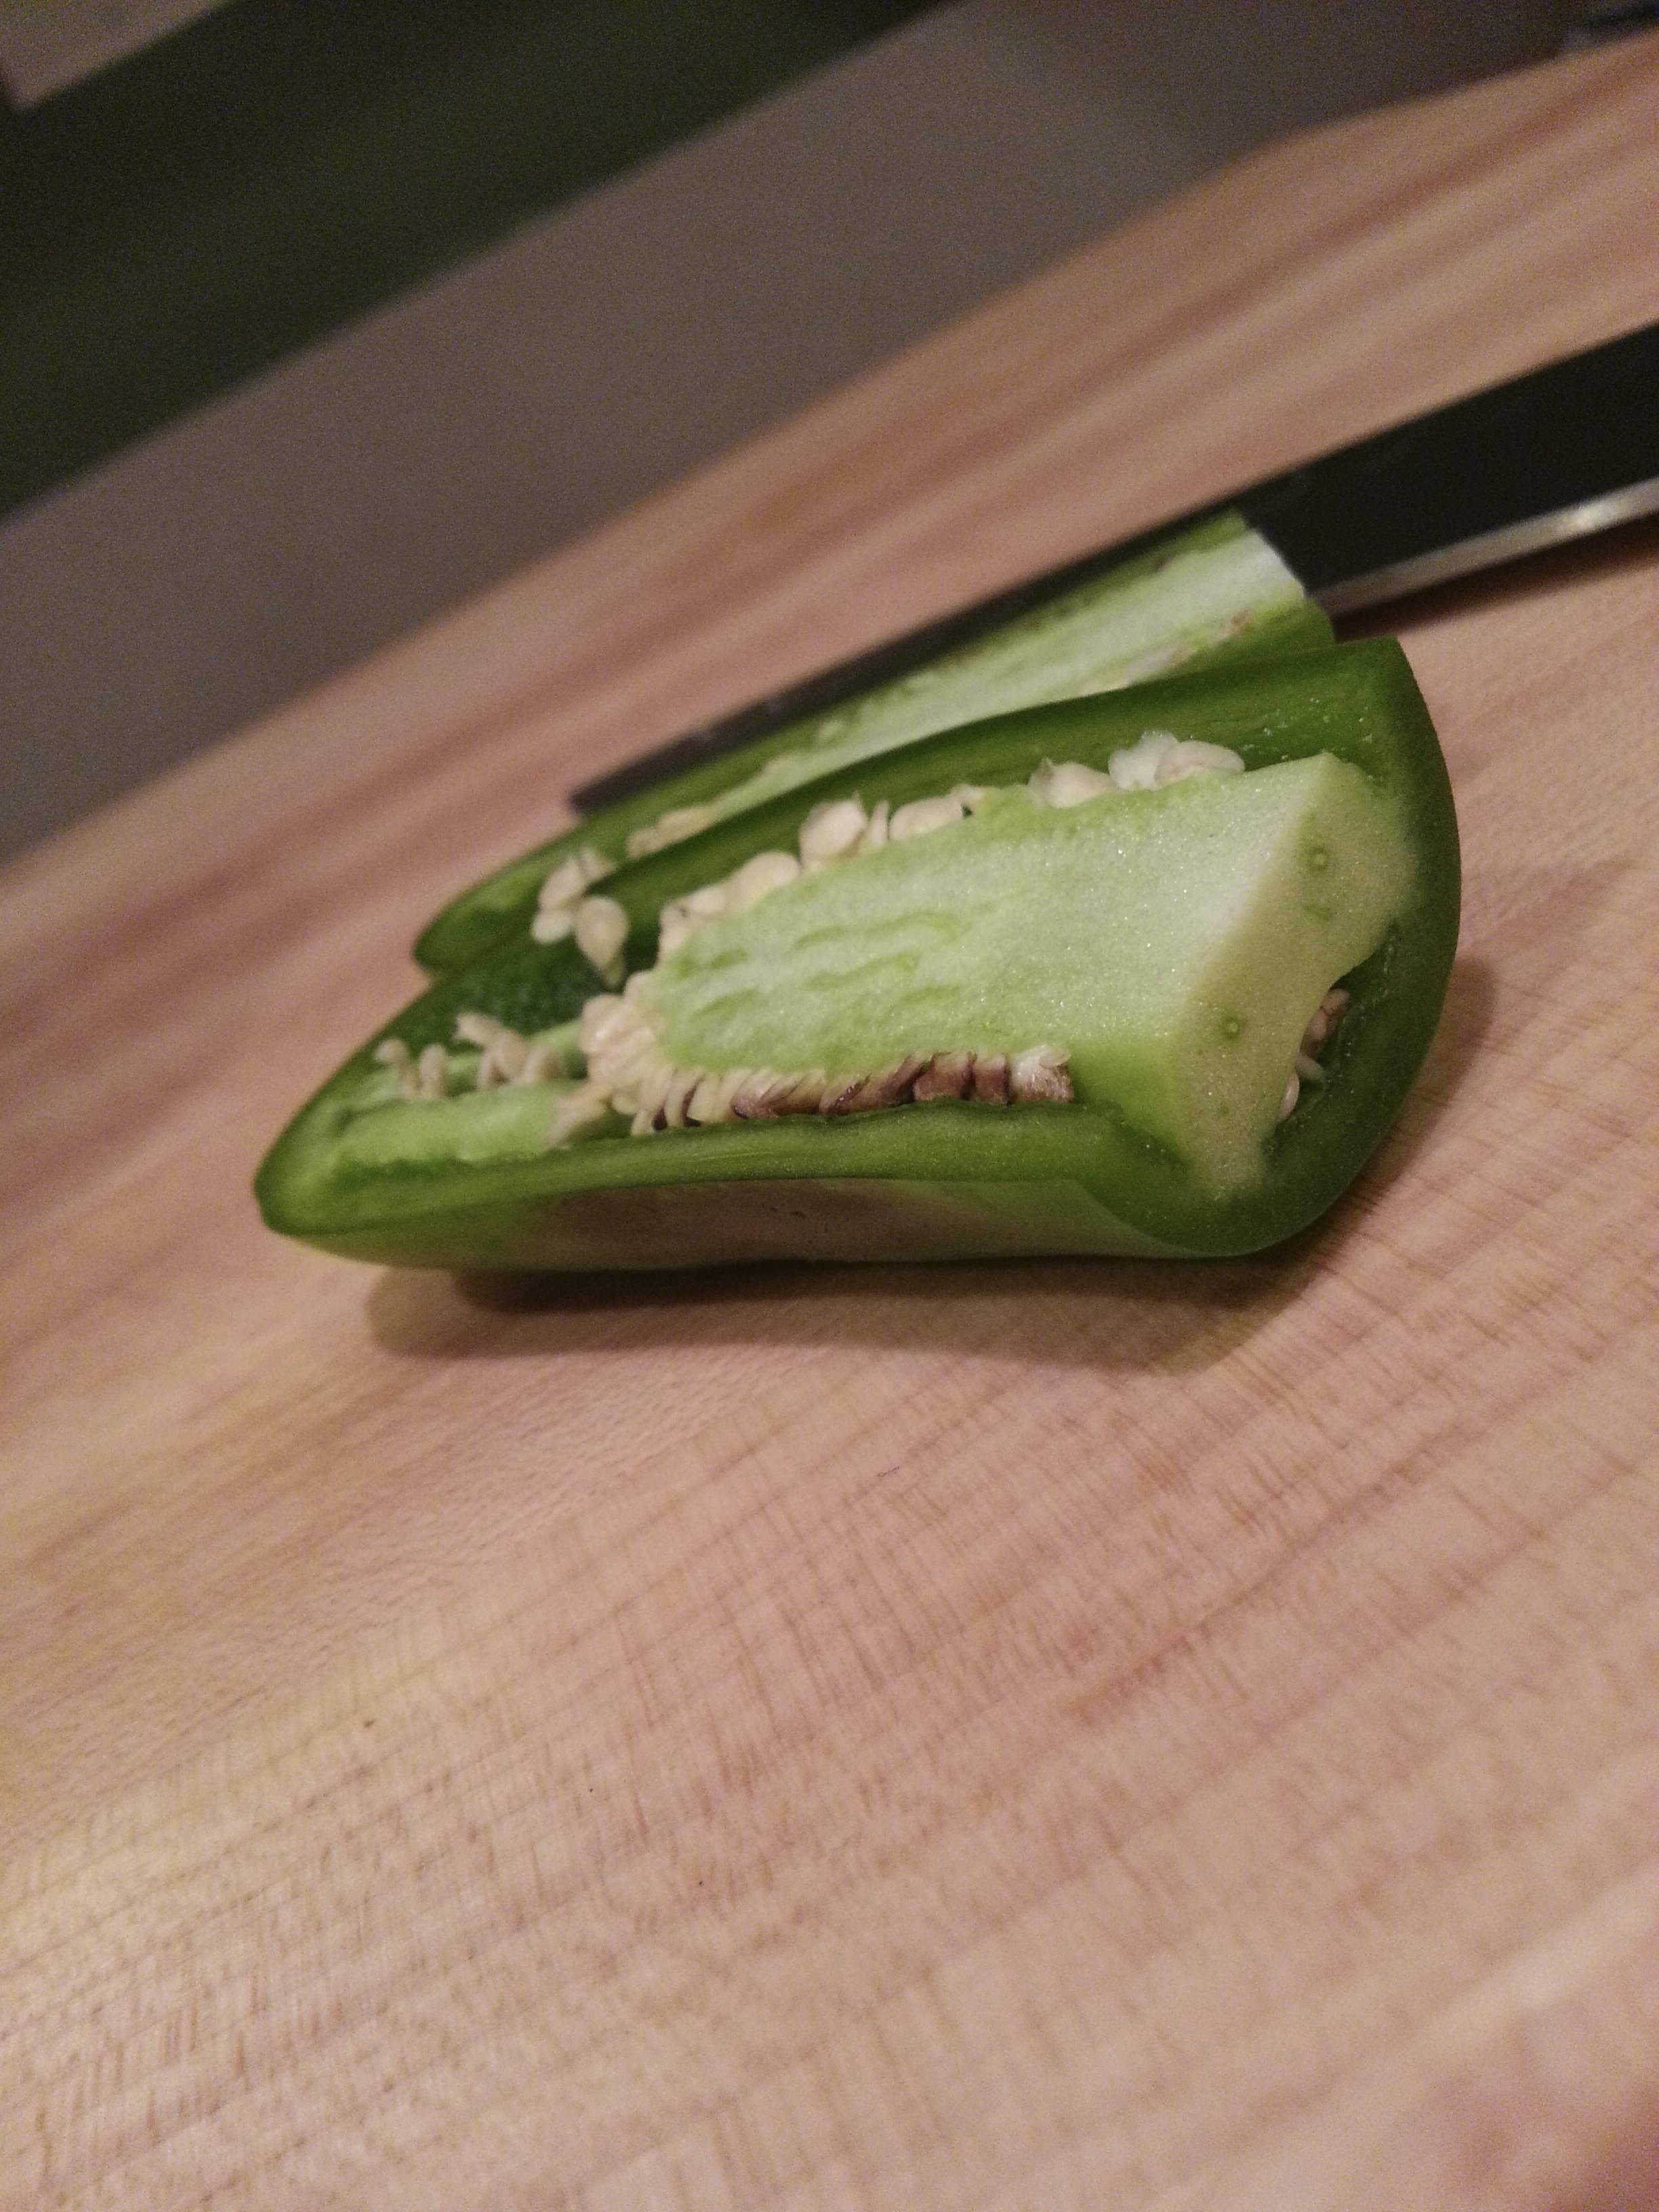
1  jalapeño pepper, minced
2  TB soy sauce
1  TB sesame oil
1  tsp kosher salt
ground black pepper
cooking spray

chili garlic glaze:

6  TB soy sauce
4  TB chili garlic sauce
2  TB brown sugar
4  TB water
1  TB jalapeño, minced

red bell pepperjalapeño

get started on the meatballs:

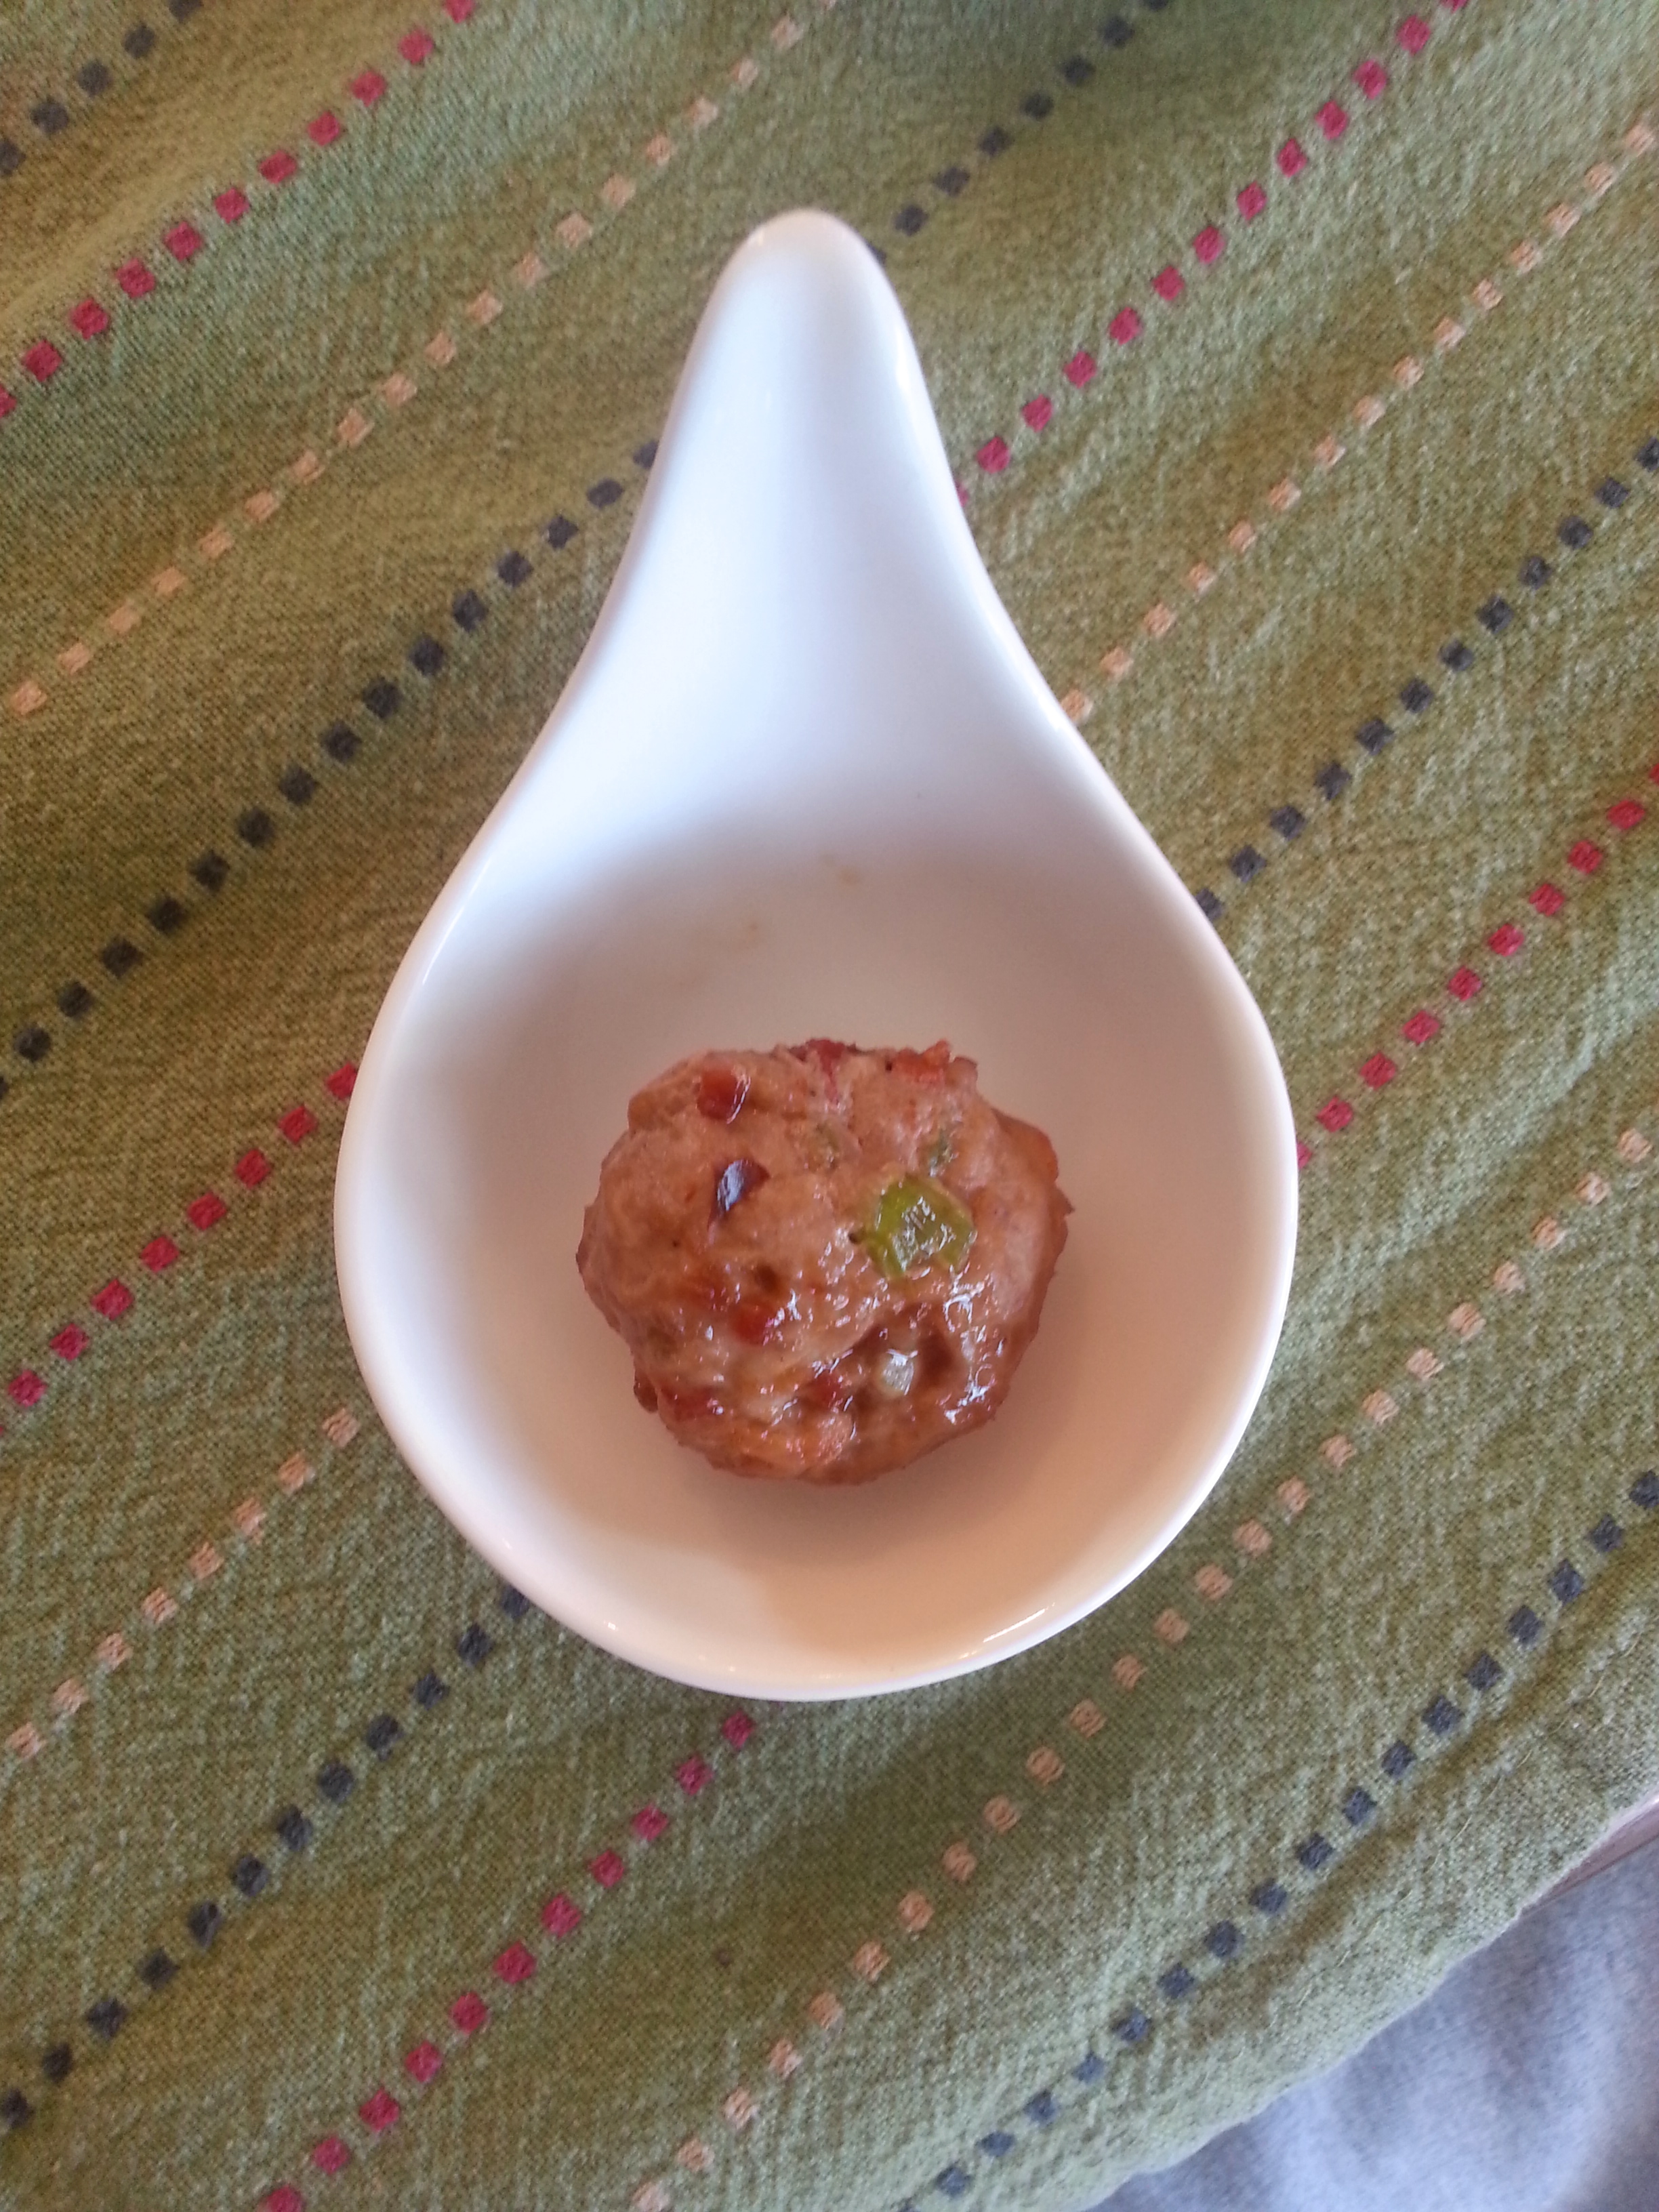
Preheat oven to 400.  In a large bowl, combine the turkey and the rest of the ingredients until just mixed together.  Do not over mix.  Scoop about 1.5 tablespoon of turkey mixture and roll in your hands lightly and place on a baking sheet coated with cooking spray.  Make sure the size is slightly smaller than a golf ball so it can be picked up with a toothpick easily.  Bake in the oven for 10 minutes.  While the meatballs are cooking, prepare the glaze by whisking the ingredients in a small bowl until the brown sugar dissolves.  Set aside 1/2 of the glaze and place in a small bowl for dipping.  After the meatballs have baked for ten minutes, brush the meatballs with the glaze.  Bake for another 3 minutes until cooked through.  Discard glaze.  Serve with dipping sauce.

meatball madnessmeatballs anyone?

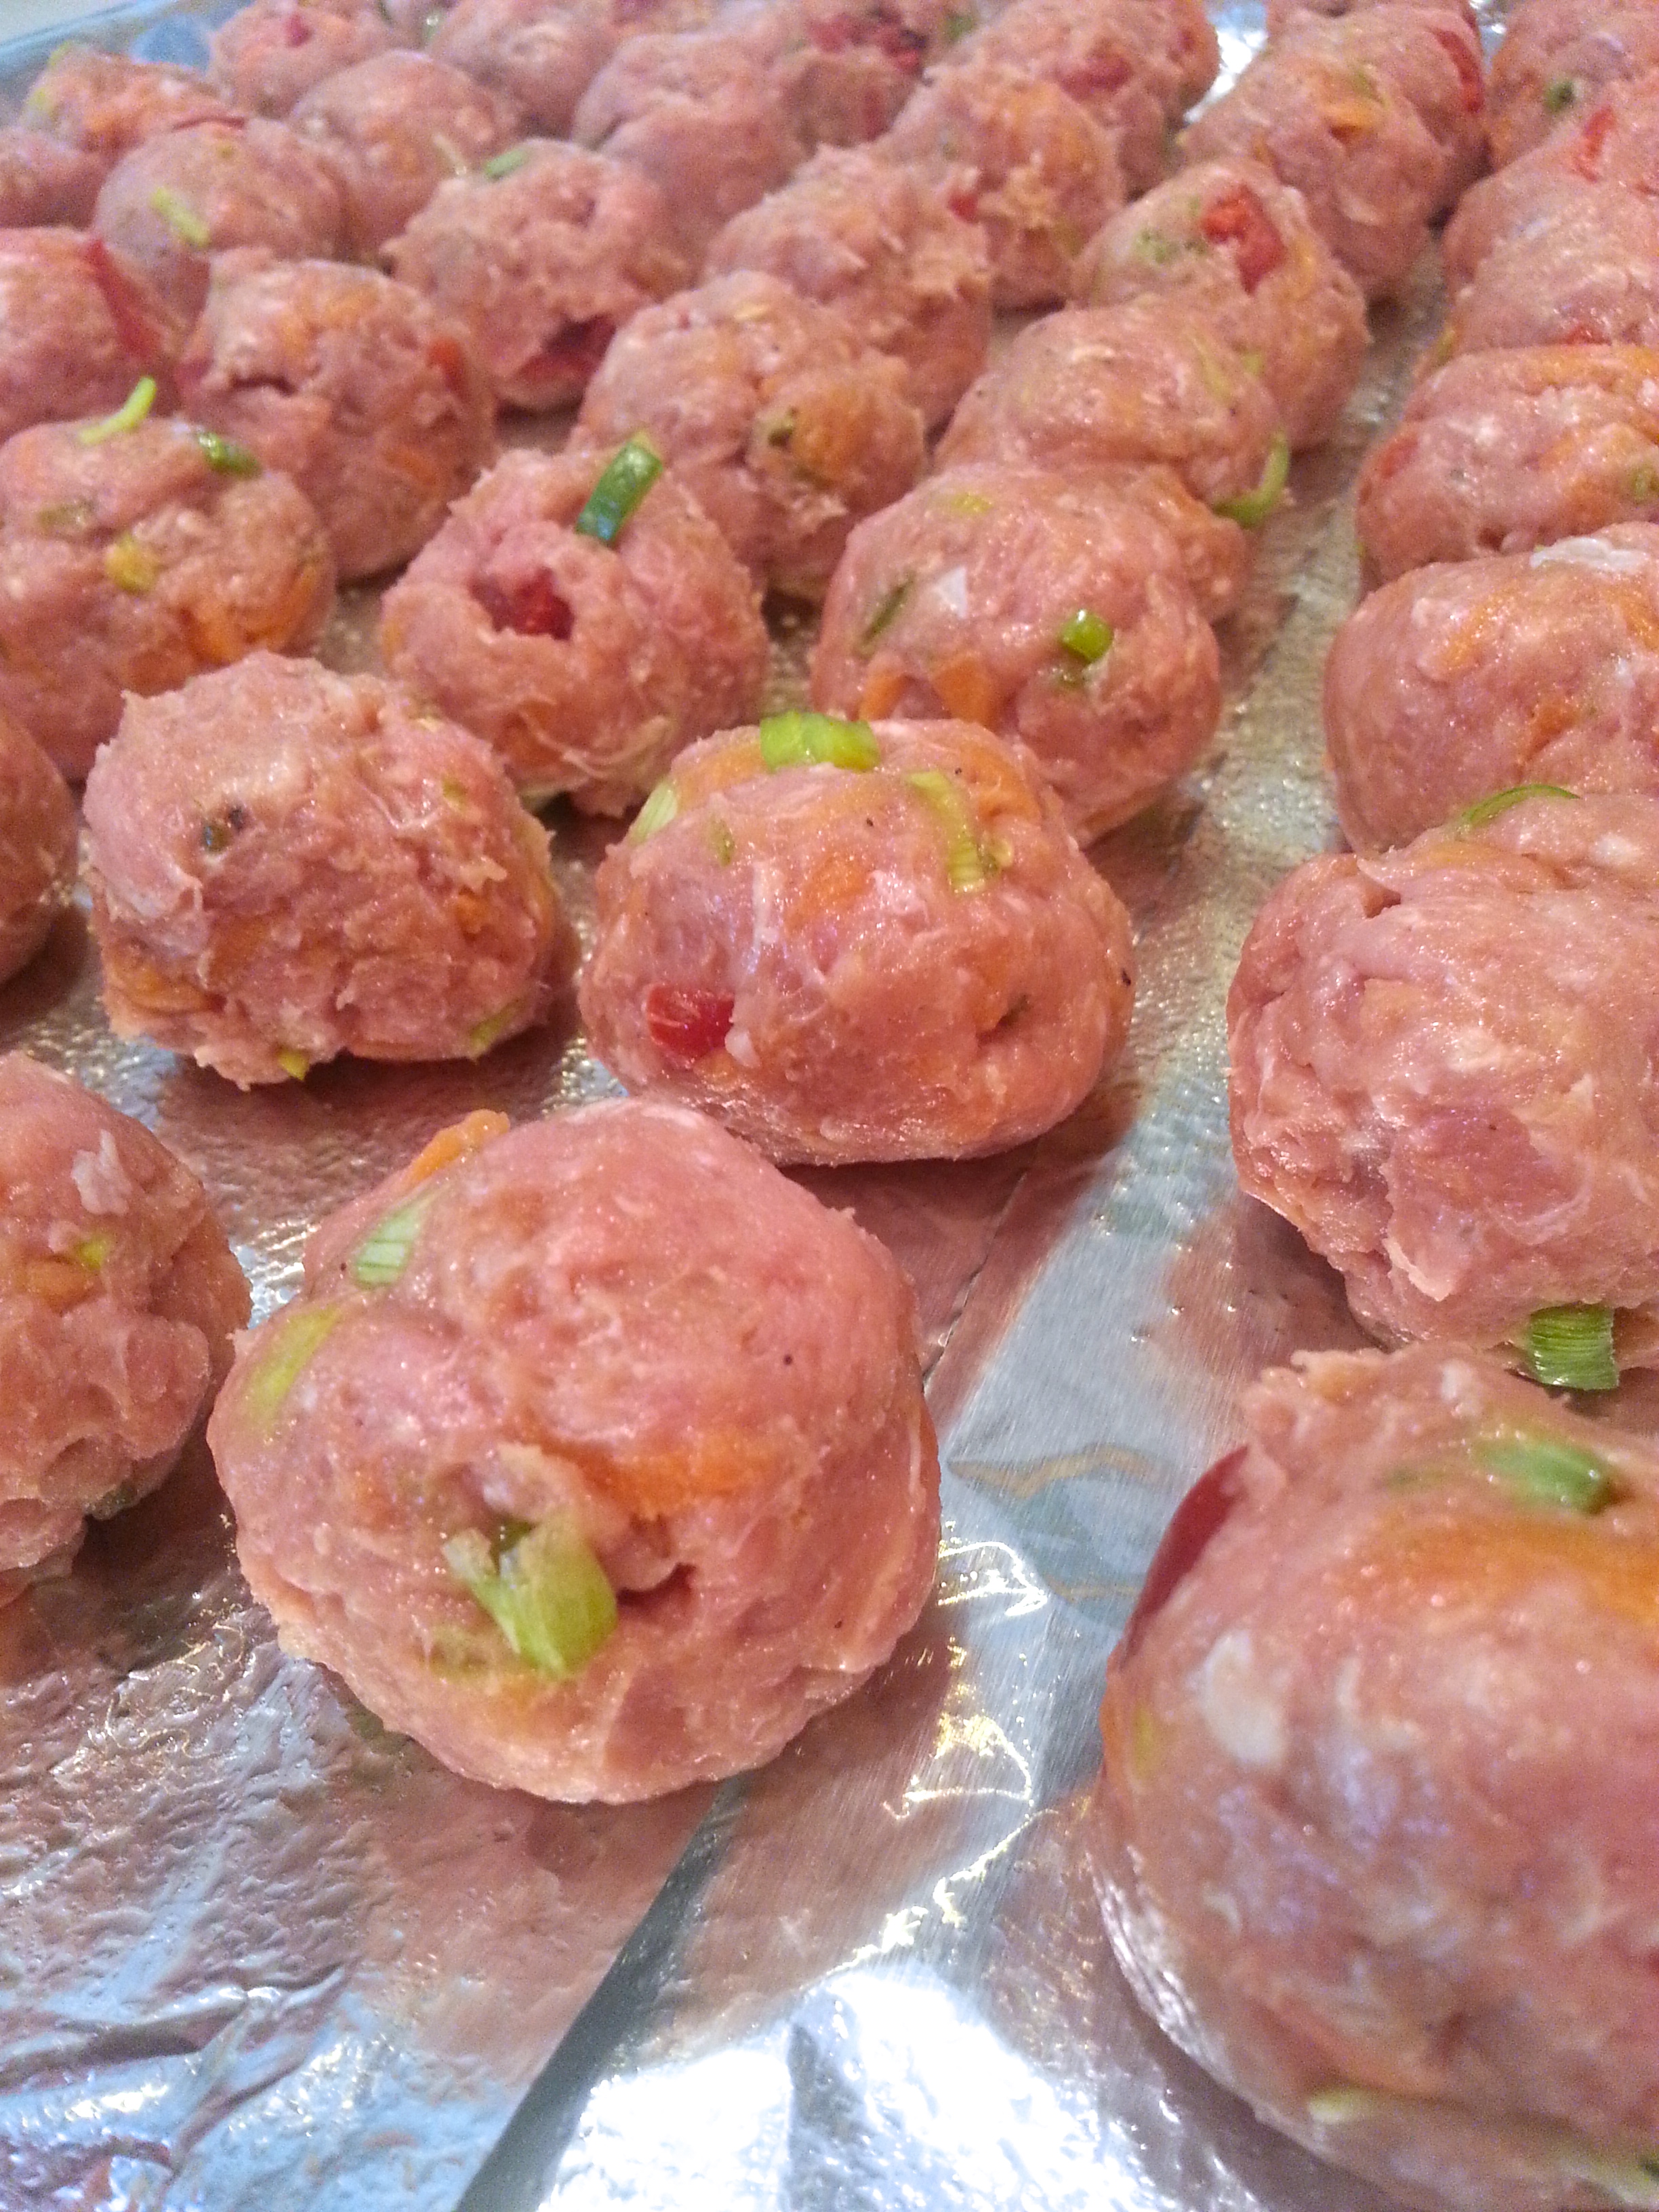
note:  this makes about 42-48 meatballs.

pork pot stickers


pork pot sticker

I have always vowed that I wouldn’t be that mother that served dinner like a diner.  For the most part, I have upheld that vow.  My kids have always been pretty good about trying different things and we are lucky they eat what I serve.  That is probably attributed to the fact that they have learned that if they don’t like it, they get the ‘too bad’ face, and the ‘better luck next time!’ shrug (insert emoticon here).  Now I am not completely insensitive to their ever-changing preferences or aversions, but I don’t cater to just their favorites either.  If I did, I’d be eating orzo and hot dogs everyday.  Right now, my daughter seems to be anti-red sauce so she is getting zero sympathy from me in that department.  One dish we all can agree on though, is pot stickers.  Maybe because it is similar to ravioli or tortellini which the kiddies love.  My problem is that I need to be sure I don’t eat 30 of the tiny pockets of yumminess.  If you check out the original recipe, it calls for only 8 ounces of pork, whereas I used twice that.  I have issue with using parts of packages, or 1/2 of a can of something, so I tend to modify recipes to try to use things in their entirety.   This does produce mass amounts of food sometimes, but in most cases, it equals another dish the next day, or a frozen mixture for round two down the road.  I would rather refrigerate or freeze a meal, or the mixture for a meal, than have a leftover can of corn or  frozen blob of pork.
I was only feeding three of us this time, so I only made 18 pot stickers and kept the pork mixture and used it in a cold noodle salad for four of us the following day for lunch.  It also would work on a salad with an orange vinaigrette.  Leftovers are heaven.  Otherwise this would make 36-40 pot stickers.

napa cabbagescallions

pork pot stickers (basically from Cooking Light)

Cooking spray
1  lb. package of lean ground pork
1/2  cup green onions, chopped
1  jalapeño, minced
2  tsp. ginger, grated
2  TB low sodium soy sauce
2  tsp. sesame oil
1/2  head Napa cabbage, shredded
3  carrots, shredded or Julienne
water
peanut oil

pork and scallions

get started on the pot stickers:

Heat a large nonstick skillet over medium-high heat.  Coat pan with cooking spray.  Add pork and cook 6 minutes or until almost done, stirring to break up into tiny pieces.  Add green onions, jalapeño and ginger and stir to combine.  Add soy sauce and sesame oil cooking for another minute.  Stir in carrots and cook for a minute, then add the cabbage and cook until cabbage just wilts.  Remove from heat and cool slightly.

pork mixturedumpling assembly

Place a small bowl of water near where you will be assembling the pot stickers.  Lay out six wonton wrappers, keeping the remaining under a damp paper towel (so they don’t dry out).  Spoon a teaspoon of the pork mixture into the center of the wonton.  Moisten the edges around the mixture with water, using your finger or a brush.  Take opposite corners of the wrapper and fold and seal and then fold up the remaining corners and pinch to seal at the top.  If any edges aren’t sealed completely, dab with water and pinch closed.

wontonsraw dumplings

Heat peanut oil in a large nonstick skillet over medium heat.  Arrange six pot stickers in the pan in a single layer.  Cook two minutes or until browned on the bottom.  Add 1 cup of water to the pan and cover and cook 4-5 minutes.  Uncover, and cook until liquid evaporates, about 2 minutes.  Meanwhile, assemble the next six pot stickers.  Serve immediately with soy sauce or your choice of dipping sauce. (jacked up with jalapeños!)

pot stickers cookingpot stickers

note:  serving portion is 3 pot stickers at about 120 calories total.  (so obviously eating 30 is not recommended!)  Depending on how many pot stickers you want and can fit into your pan, realize that you need to cover your batches to keep warm and moist, as it is 7+ minutes until the next batch is ready.  YUM!

plate of dumplings

shiitake and arugula grit cakes


shiitake and arugula grit cakes

So a few weekends ago, I failed at making a recipe.  It happens.  I attempted to make arepas.  I guess the type of masa I had, was not the kind that would allow the arepas to puff up.  Mine remained flat.  Had I made them smaller, they would have been the perfect vehicle for which to serve something on.  (I am a sucker for cute little appetizers!) This was a lot of work for a small tortilla size appetizer though.  We ate it anyway, but that inspired me to make these little grit cakes (which my masa mess reminded me of).  I had come across the grit cake recipe in Southern Living and wanted to try it out, but it’s silly really, to make these if you aren’t entertaining for a group.  Well, I couldn’t wait for an event, so I decided that celebrating the Flyers was good enough….just me and my hockey-loving husband.  I don’t think he thought that it was hockey-fare, but that’s ok.  They were still good.  I combined the grit cakes, oh excuse me, crostini, with a topping recipe from Gourmet Magazine that I have had forever and never tried.  Glad I did!

arugula

shiitake and arugula grit cakes (mashed up from Southern Living and Gourmet Magazine)

grit cakes:

1/2  cup flour
2  tsp
1 1/2  tsp sugar
1/4  tsp salt
1/2  cup milk
2  TB butter, melted
1  large egg, beaten
3/4  cup cooked grits, cooled
2  TB chives, chopped
a few dashes cayenne pepper

grits batter

get started on the grit cakes:

Preheat oven to 425.  Sift together first 4 ingredients into a bowl.  Whisk together milk and next 2 ingredients in another bowl.  Add wet ingredients to flour mixture, stirring just until moistened.  Whisk in grits, chives and cayenne.  Spoon by the tablespoon into two greased 12 cup muffin pans.  Bake at 425 for 12 to 15 minutes or until cakes are golden.  Immediately move from pans to wire racks to cool.  Makes about 24 cakes.

removing grit cakescooling grit cakes

shiitake and arugula topping:

1/4  cup light caesar dressing (I used Kens)
2  TB minced shallots
4  tsp Dijon mustard
2  tsp water
1/8  tsp dried crushed red pepper
14  oz shiitake mushrooms
1/2  cup (packed) thinly sliced arugula
4  sun-dried tomatoes, chopped

shiitake mushroomsmushroom arugula crostini

get started on the topping:

Preheat oven to 400.  Spray sheet tray with non-stick cooking spray.  Combine dressing, shallots, mustard, water and crushed red pepper in a large bowl.  Add mushrooms and stir gently to blend.  Let stand 25 minutes.  Arrange mushroom mixture on sheet tray, and season with salt and pepper.  Bake until mushrooms are golden brown, turning mushrooms over halfway through baking, about 12 minutes.  Cool slightly.  Coarsely chop cooked mushrooms.  Add mushrooms to bowl with dressing.  Add arugula and sun-dried tomatoes and toss to coat.  Season with salt and pepper if needed.  Add mushroom and arugula topping to each grit cake and warm in oven for 3-5 minutes before serving.

note:  original grit crostini recipe was for 5 dozen so my recipe is halved.